Pet Camera Won't Connect to Wi-Fi? Common Setup Problems and Fixes
Troubleshooting guide for pet camera Wi-Fi setup: 2.4 GHz vs 5 GHz, passwords, signal strength, router settings and when to contact support.
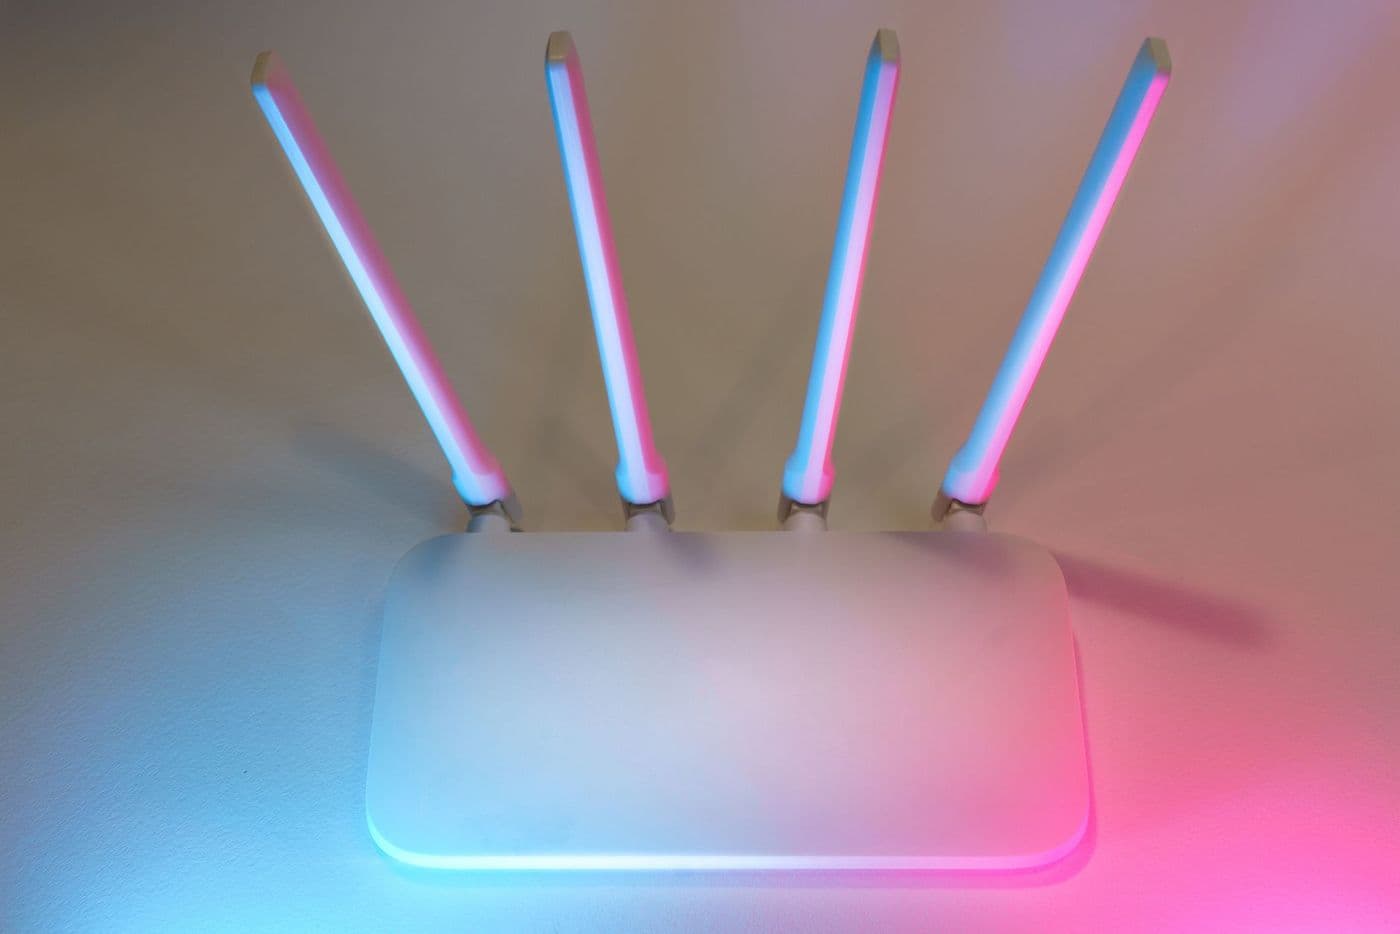
Most pet camera connection failures come from the Wi-Fi band, signal strength or router settings. Make sure the camera is on a 2.4 GHz network if it only supports that, move it closer to the router during setup, double-check the password and keep your phone on the same network. If problems persist, restart the router and camera, and try a factory reset.
A pet camera that will not connect is frustrating, especially when you bought it to keep an eye on your pet at home. The good news is that most setup problems have simple causes.
This guide works through the usual suspects in order, from the most common to the least.
Check the Wi-Fi band first
Many home cameras connect only to 2.4 GHz Wi-Fi, while many routers broadcast both 2.4 GHz and 5 GHz under the same name. If your phone is on 5 GHz during setup, the camera may not find the network. Check the product details to see which bands it supports.
If your router merges both bands under one name, try temporarily switching your phone to a separate 2.4 GHz network, or turn off 5 GHz in the router settings for setup.
Signal strength and placement

Cameras are often placed in corners or on shelves far from the router. Walls, mirrors, aquariums and appliances can weaken the signal. During setup, place the camera close to the router, then move it gradually to its final spot while watching the signal indicator in the app.
If the signal is weak in the final spot, consider a Wi-Fi extender or mesh node. Stability matters more than raw speed.
Simple fixes that solve many cases
Try these steps in order:
- Re-enter the Wi-Fi password carefully, watching for capital letters and symbols
- Restart the camera by unplugging it for a short time
- Restart the router, wait for it to come back, and try again
- Update the camera app and your phone's operating system
- Keep your phone close to the camera during pairing
- Disable any VPN on the phone while pairing
Router settings that can block cameras
Certain router features can interfere:
- MAC filtering: only allowed devices can join, so add the camera if this is on.
- Guest or isolated networks: may block communication between phone and camera.
- Special security modes: some older cameras do not support the newest Wi-Fi security standards.
- Too many connected devices: some routers limit how many devices can connect.
Tip: Write down your router model and admin address before you start. If you need to change a setting, you will find it faster.
When the camera connects, then drops
If it works at first and then goes offline, the problem is usually signal or power. Check that the power adapter is firmly plugged in and the cable is not damaged. Look at router logs or app signal graphs for dropouts, especially in the evening when many devices share the network.
Pets sometimes unplug or chew cables, so keep wires tidy and out of reach.
Factory reset and support
If nothing works, a factory reset returns the camera to its initial state. The method differs by model, so follow the manufacturer's instructions. After the reset, set it up again from scratch.
Contact the maker's support with details of what you tried. A faulty unit may be covered by warranty.
Tips for a stable connection long term
Give the camera a stable place on your network. If your router lets you reserve an address for a device, this can reduce odd dropouts. Keep the camera away from microwaves and cordless phones, which can interfere with 2.4 GHz signals.
If your home is large, a mesh system tends to be more reliable than a single router at one end. Consider placing a node near the camera.
What to tell support
When you contact support, have the camera model, firmware version, your router brand and what you already tried. Include any error codes or the point at which setup fails. This saves time and helps them find the cause faster.
Take note of whether the problem began after a router change, an app update or a move. These details often point directly to the fix.
When the problem is the router, not the camera
Sometimes a camera is blamed for what is really a router issue. If other devices also drop off, restart the router, update its firmware and consider changing the Wi-Fi channel to avoid crowded ones. In flats with many neighbouring networks, a less busy channel can make a visible difference.
If your internet provider supplied a combined modem and router, check whether it offers a separate 2.4 GHz setting. Some provider devices hide the option in an advanced menu, so look at the manual or support site for instructions.
Frequently asked questions
Why does my camera only see 2.4 GHz networks?
Many cameras only support that band because it travels farther through walls. Check the specifications.
Do I need a strong internet speed?
Stable connection matters more than headline speed, but live video does need adequate upload bandwidth.
Can a VPN stop setup?
Yes. Turn it off on your phone during pairing.
Should I use a Wi-Fi extender?
It can help if the camera is far from the router, as long as the extender has a stable link.
Advertisement
Advertisement
Sponsored: today's featured offer →General information only. Check product labels and manufacturer instructions before you start.
Keep reading

Two-Way Audio and Barking Alerts on Pet Cameras: Helpful or Counterproductive?
How two-way talk and bark or meow alerts work, when they help, when they can make anxious pets worse, and what to check in the settings.

Night Vision on Pet Cameras Explained: Infrared, Colour and Low-Light Limits
How pet camera night vision works, the difference between infrared and colour modes, why pets' eyes glow, and what image quality to expect at night.
Pet Camera Privacy and Security: A Practical Checklist for Your Home
Pet cameras see inside your home. Learn how to secure your account, understand cloud storage, manage sharing and reduce privacy risks.